


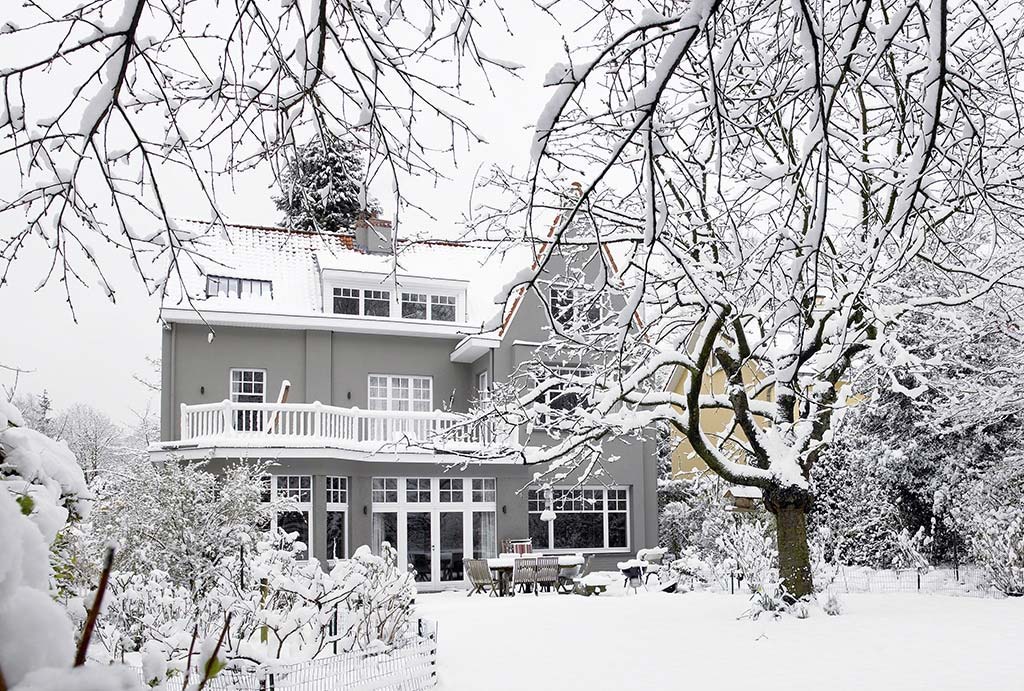
If you live in Indianapolis, you know our winters don’t mess around. Melt, freeze, wind-driven rain that combo creates the exact conditions that sneak water under shingles, rot roof decking, and trigger emergency repairs. That’s where ice & water shield (also called an ice-and-water barrier or self-adhering membrane) earns its keep. In plain terms: it’s a thin, rubberized, sticky sheet we install under your shingles in the most vulnerable spots. It seals around nails, flashings, and roof penetrations so water that gets past the shingles can’t get into your house.
This article explains, in everyday language, how ice & water shield actually saves you money not just “maybe,” but in ways you’ll notice when you avoid a leak, a rotten deck, or a surprise interior repair. We’ll cover what it is, where we install it, why it matters in Indiana, how it prevents expensive damage, and how to get the most value when you replace your roof.
1) What ice & water shield does
Ice & water shield is a waterproof membrane that sticks directly to the roof deck under your shingles. Instead of relying only on the shingles to keep water out, the shield gives you a second, watertight line of defense in places where leaks start: eaves, rakes, valleys, around chimneys, skylights and vents. It’s engineered to seal around nail holes and remain bonded during freeze-thaw cycles.
2) Where we install it and why those places matter
We concentrate ice & water shield where water is most likely to sneak in:
- Eaves and rakes (roof edges): When snow melts and refreezes, ice dams form at the edge and push water back under shingles. The shield blocks that water.
- Valleys: Valleys channel a lot of runoff. If shingles are lifted or damaged, water easily finds a way in. The membrane keeps the decking dry.
- Around chimneys, skylights, plumbing stacks and vent pipes: Any penetration is a leak risk; the membrane seals these complicated junctions.
Installing the shield in these spots doesn’t guarantee the rest of the roof won’t ever leak, but it prevents the most common and costliest failures, the ones that lead to emergency tarps, attic mold, ruined insulation, or sagging ceilings.
3) How ice & water shield prevents the most expensive repairs
Let’s walk through a typical sequence of avoidable costs and how the membrane stops them:
- Ice dams form → water backs under shingles → decking gets wet. Once decking gets wet, it rots and you may need decking replacement before you can even re-shingle. That can add thousands to a roof job. The membrane prevents backup water from reaching the decking in the first place.
- Wind-driven rain lifts shingles → water gets under the shingle layer. A sticky, fully adhered membrane is not moved by wind or storm-driven water it stays stuck to the deck and seals around fasteners. That keeps the attic and ceiling dry and prevents interior damage and mold.
- Leaks lead to emergency repairs and interior fixes. Patching a leak quickly still costs money (roofers’ emergency calls, temporary tarps, interior drywall and paint) but preventing the leak costs far less than repairing the damage caused by an unseen leak. Multiple reputable roofing sources show that the underlayment is a relatively small upfront cost compared to the long-term repairs it avoids.
Those avoided costs add up. A well-installed ice & water shield reduces the chance of repeat visits and hidden damage that drive prices well past the initial roof bill.
4) Building codes and local realities.
Indiana’s codes and common local roofing practice influence how much shield you need. Many contractors in the state and guidance in Indiana’s residential code require ice & water barrier at eaves (and sometimes in valleys or other critical areas) because our freeze-thaw cycles make ice dams likely. That means choosing a contractor who understands local code and installs the membrane correctly matters.
At Stay Dry Roofing we follow local code and industry best practices: properly prepare the deck, install the recommended width and laps for the membrane, and integrate it with flashing so the system performs as intended. Cutting corners here is what leads to failures.
5) How the membrane saves you money over time
Every roof is different, but consider these practical examples:
- Avoid decking replacement: If a small leak is caught early, a simple repair might cost a few hundred dollars. If decking rots, the roof replacement price can jump by thousands because we must replace decking and fix interior damage. A membrane prevents the leak that causes the rot.
- Fewer callbacks and warranty claims: Membranes that properly seal around fasteners and penetrations mean fewer call backs for repairs and fewer out-of-pocket costs for you. Reputable contractors factor this reduced risk into the lifetime cost of the roof.
- Insurance and resale value: A roof with modern protective details often fares better in insurance claims and home inspections. Buyers notice a solid roof system; it gives confidence to inspectors and appraisers and can help sell a house faster at a better price.
We always recommend looking at the lifetime expense, not just the one-time installation price. That’s where ice & water shield earns its return.
Common questions we get about ice and water shield
Do I need ice & water shield on the whole roof?
Not usually. Industry practice is to apply it in high-risk zones (eaves, valleys, penetrations). Full-roof membranes exist and are used on low-slope roofs or where extra insurance is desired. We’ll discuss options in your estimate.
Why does it look more expensive on the estimate?
Because the membrane is an additional material and labor step. But it’s a modest percentage of the total job compared with decking repair or interior restoration after a leak. Think of it as an insurance policy that prevents catastrophic, expensive claims.
Can contractors skip it to save money?
Some might, which is why you should compare what’s included in every quote. Our estimates list materials and where we place the membrane, so you know what you’re paying for and what you’ll avoid down the road. The competitor pages you’ll find around Indy often recommend seasonal maintenance and awareness, but many don’t emphasize the preventive value of a correctly installed membrane the way we do.
How to get the best value when you replace your roof
- Ask for specifics in writing. Request the brand and width of the ice & water shield and where it will be installed (eaves, valleys, around penetrations). Don’t accept vague “we’ll waterproof it” language.
- Choose a contractor who follows manufacturer instructions. Proper laps, heat-activated adhesives or primer where needed, and correct flashing integration matter more than the cheapest roll.
- Compare lifetime costs, not just the estimate. Factor in reduced risk of interior damage, fewer callbacks, and longer roof life. That’s how the membrane pays for itself.
What Stay Dry Roofing recommends
If you want a roof that stands up to Indiana winters and actually costs less over time, an ice & water shield in the right places is not optional it’s smart. It prevents the common, expensive failures we see after freeze-thaw cycles and wind storms. At Stay Dry Roofing we design the underlayment plan for each house based on roof shape, valleys, penetrations, and local code. That attention to detail is what saves you money and headaches in the long run.
If you’re getting quotes or you’re wondering whether your current roof has the right protection, call us for a clear inspection and a written recommendation. We’ll show you exactly where we would place ice & water shield and why so you can decide with confidence.